Steps of BKF Repair Tool with
Screenshots
Go to Start » Programs » Open BKF Repair, initial software start-up screen will appear as follows:
Click on "Scan File" button and following screen will appear
» Quick Scan: It does scan the corrupt BKF in 1 phase to quickly recover BKF data. Please click on Quick Scan button for fast recovery.
» Deep Scan: It does scan the corrupt BKF file in 2 phases which is unique in the industry allows better rate of recovery for a corrupt BKF file. Click on Deep Scan button for in-depth recovery.
» Range Based Scan: Large BKF file can be quickly scanned through this option. It helps you perform selective file scan by providing the range if file to scan.
Note: We recommend you to perform Deep Scan on your corrupt BKF file. In such cases Quick Scan does not get 100% data.
a.) Select the corrupt BKF / Zip file that you need to repair
b.) Choose the appropriate option for scanning backup file
c.) Click scan to process the scanning of backup file for recovery
The scanning will proceed as shown below with the complete status message
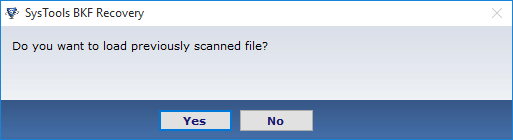
Load Previous Scanned File : You will not need to do scan again, you just need to load the same bkf file and then it will ask you, do you want to load the previous scan, you just need to click: Yes, and wait for some time, it will load the previous scanned file, as shown below:
» As the scanning completes, following screen will appear. You can preview all teh folders in a tree like stricture and extract it from the button in top menu bar.
» Search Files within Zip / BKF File
You can search for particular files, images, pictures using Search from the top of the screen. Learn how to search files in BKF file?
» Extract Single Files
After this, you can select single file to view or Extract Files individually from corrupt BKF files / Zip files.
» Two separate mode of extraction is an available
» Select the destination location to save the file by browsing and click extract to save the file after recovery
The following message will apppear as the extraction process completes showing the path of saved BKF file. Then click ok.